Videoconferences
Learn how to manage your classes online
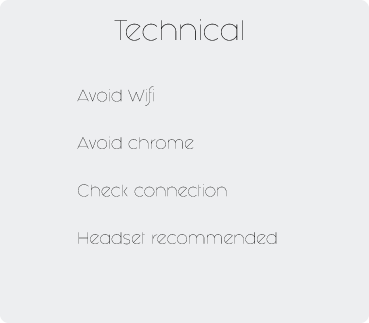
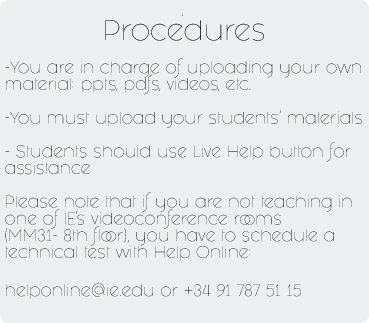
Before getting started on the basics of the platform you must make sure
you are following all the technical requirements and procedures to have a successful videoconference
ACCESS
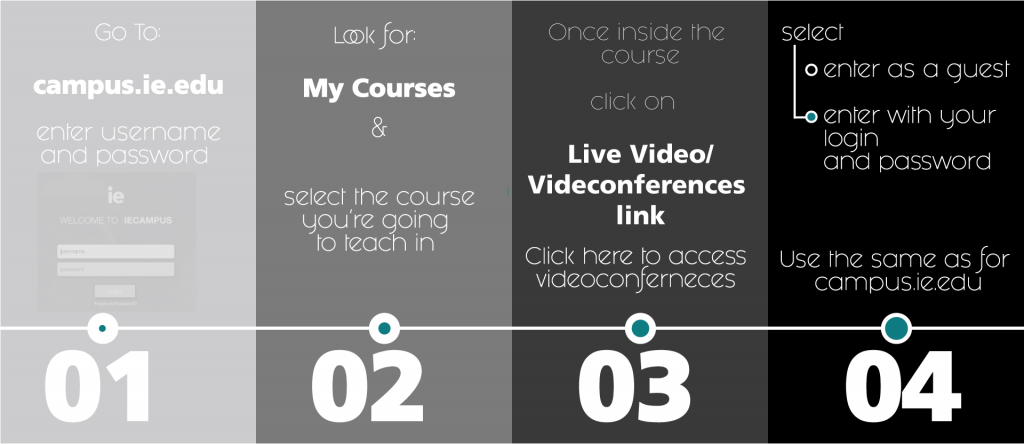
How to get to your virtual classroom
Module 1
THE BASICS
What there’s to know about the structure of Adobe Connect

Module 2
SHARING MATERIAL
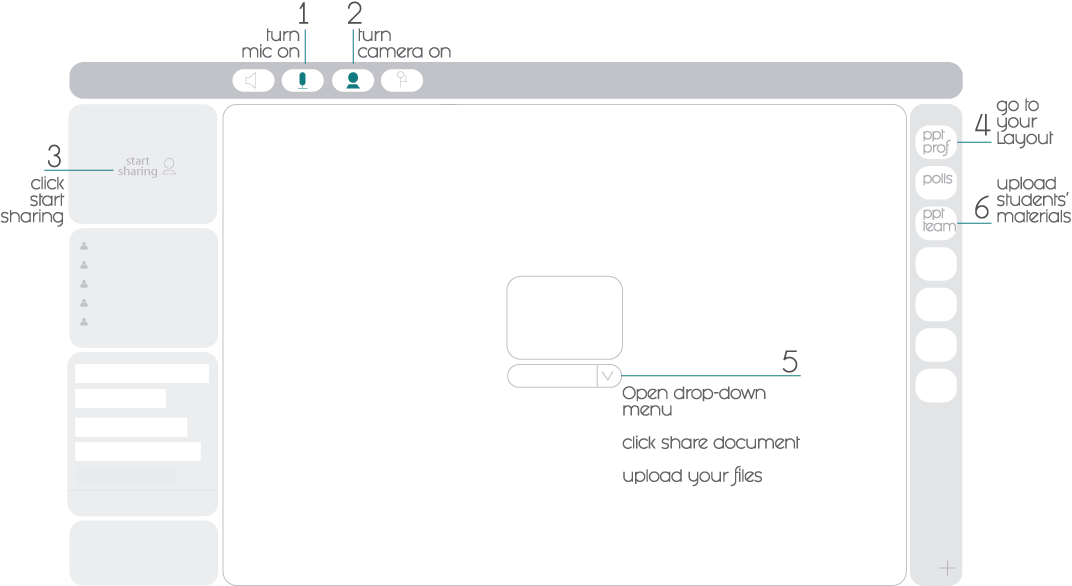
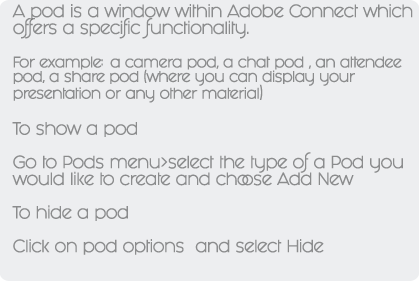
To add a new sharing pod to your layout you must go to your pod’s menu (top left), click on share > Add New Share.
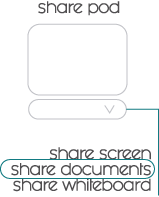
- Click on the drop-down menu in the middle of the Share Pod.
- Select Share Document
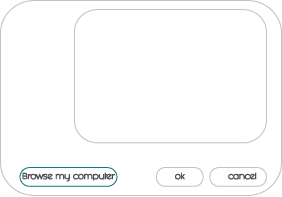
3. Click Browse my computer to find the file you wish to upload.
4. Click OK
To upload a video:
- Go to Layout: Videos.
- Use the same steps for sharing a document.
If your video won’t upload because is not in the correct format, please create a request at:
Service Desk with at least 3 days in advanced.
1. Click the Share My Screen in the center
of the Share pod.
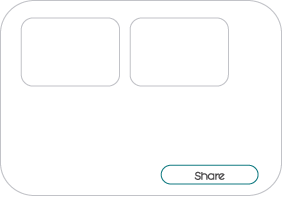
2. Click the Share button at the bottom of
the Start Screen Sharing window to begin sharing.
You can use a whiteboard in two different ways in a Share pod:
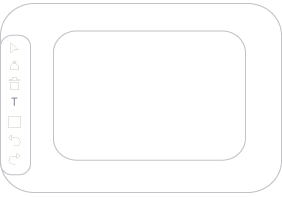
- A stand-alone whiteboard allows you to create content on a white background.
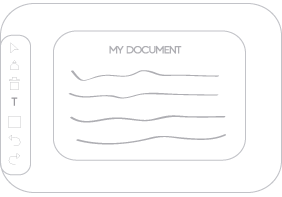
2. An overlay whiteboard allows you to create content over an existing document in a Share pod, adding annotations to and drawing on the document.
Module 3
INTERACT WITH STUDENTS
Use the Poll pod to create questions, or polls, for participants and to view the results. Polls are useful during a meeting if you want instant feedback on what is being presented.
Create A Poll
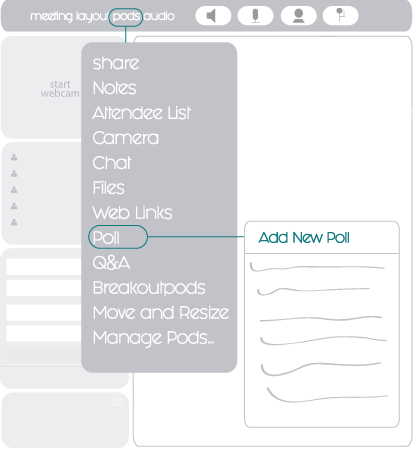
- Go to Polls Layout > Pod’s menu > Polls > Add New Poll
- Create Question and Click Open
You can create polls in advanced and hide them from students until you are ready to launch them.
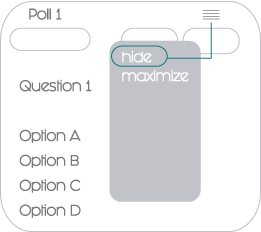
To hide a poll:
On the poll > Pod options > Hide
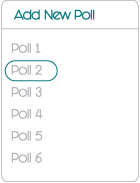
To show a hidden poll:
Pods menu> Poll> Select poll
During the session, just like in a physical classroom, you can split your students into smaller groups and have the groups work in separate breakout rooms. You can even go and visit each of the breakout rooms to observe students working or help them in arriving at an answer. Whenever you’re ready, you can close the breakout rooms and bring the attendees back into the main room
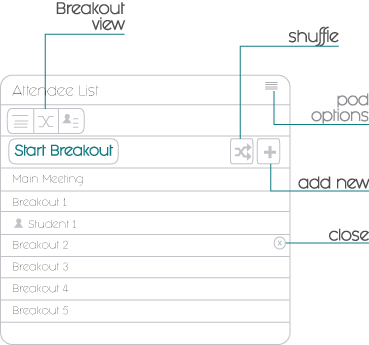
- Click Breakout View
- Assign Participants:
- Randomly: Click shuffle button
- Manually: Drag Student’s name and drop it in the room
- Click Start Breakouts to begin breakout activities
- Broadcasting a message to all rooms at the same time:
- Go to Pod Options > Broadcast message.
Getting Started
QUICK-START GUIDE
